Manual
Usage
Initial setup
On your first launch, be sure to use the configuration assistant at lscat 1 8, and copy + paste the suggestions to your config at ~/.local/config/koneko/config.ini (exact path). See the Configuration section for reference
Launch koneko. There are six modes of operation reachable from the main screen. The mode letter is bolded:
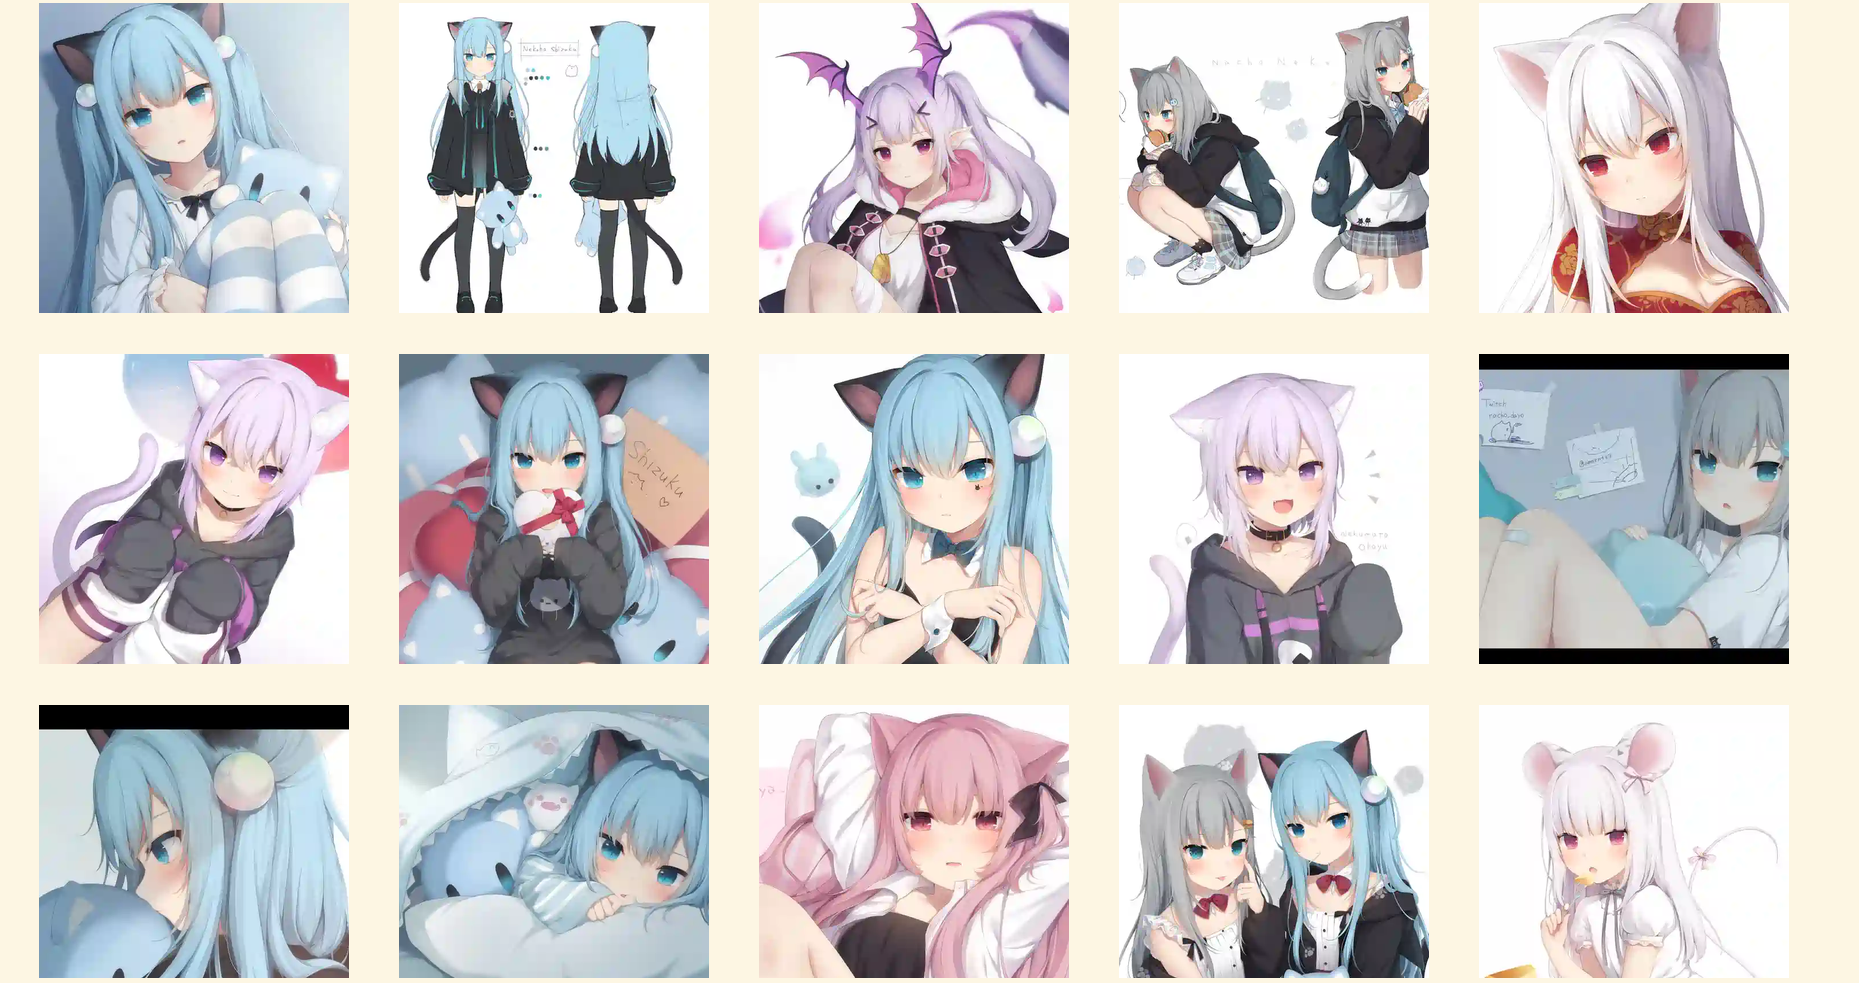
View artist illustrations (ex)
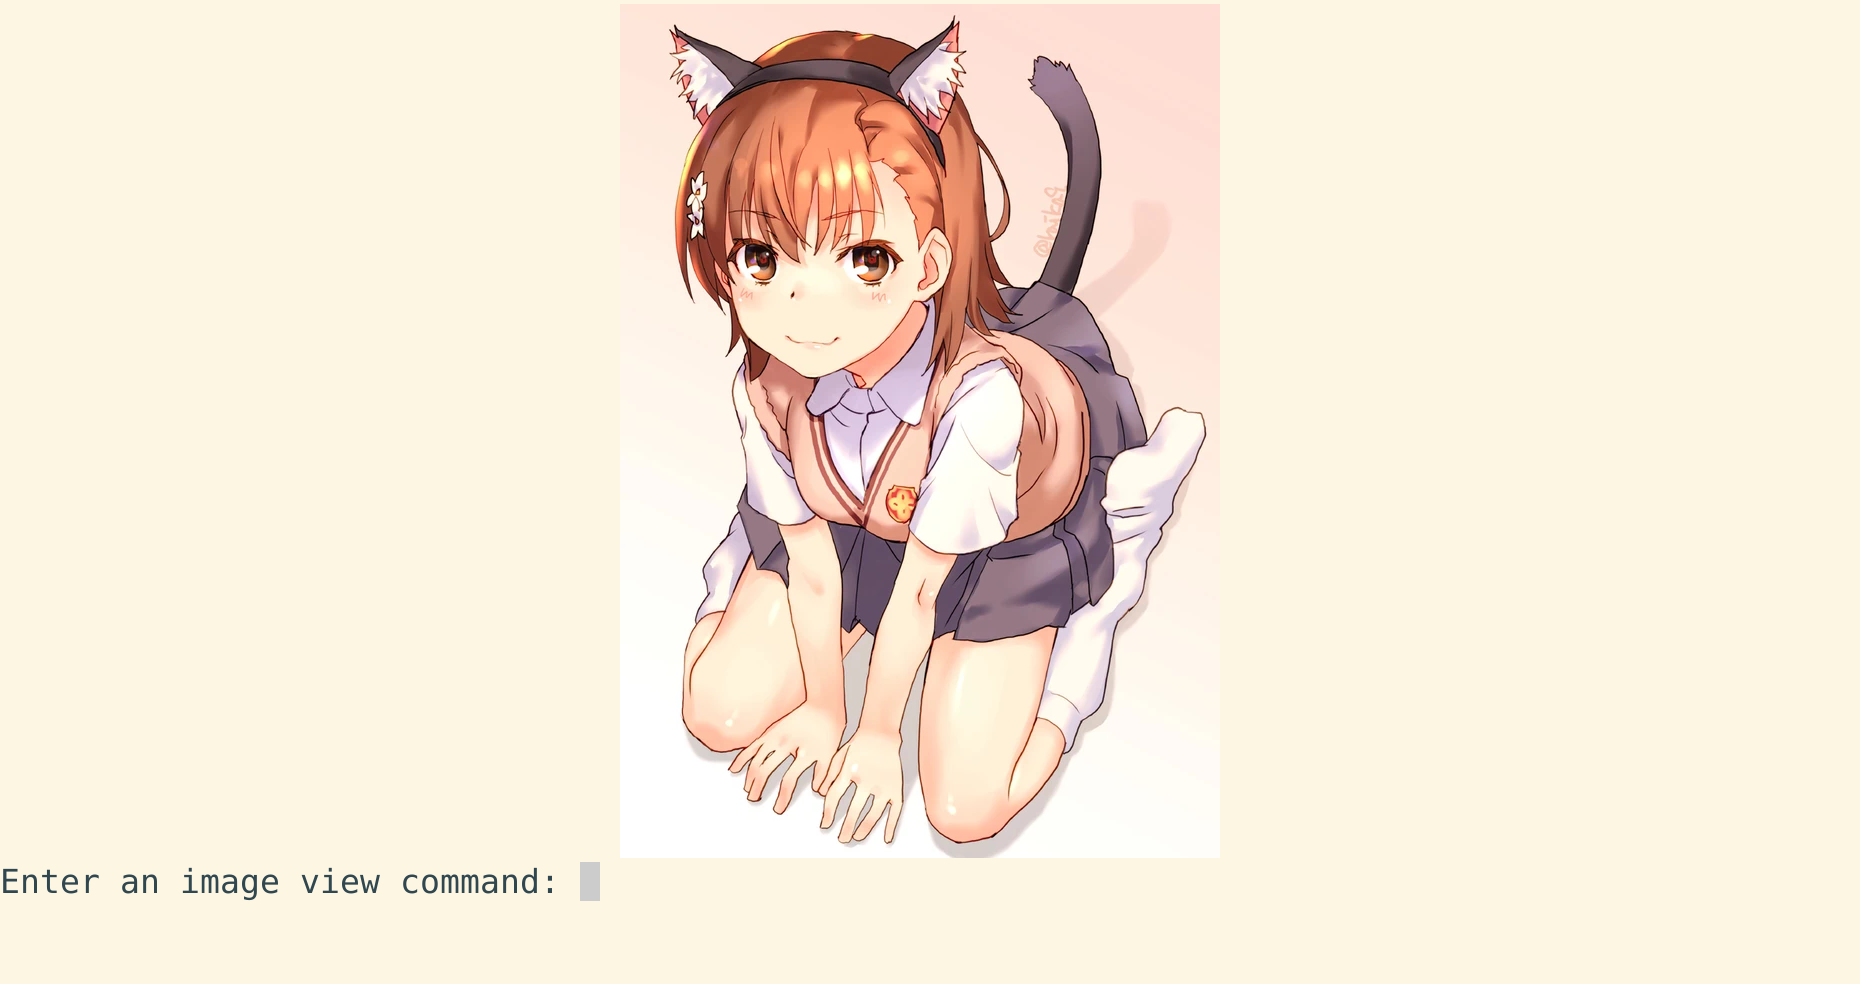
View a post’s images (ex)
View related images suggested by pixiv (ex: scroll down from the above example) (note: only reachable from images view)
View the artists that you are following (or any other user ID) (ex)
Search for an artist/user (ex)
View newest illustrations from artists you’re following (ex)
View recommended illustrations (now called ‘discovery’) (ex)
Enter digits 1-6 to proceed. If prompted, paste in an appropriate pixiv ID or url. See the command line usage section for url examples.
Tutorial
Coordinates are two digits in the form
xywhere x is column and y is row.For example, a command of
25refers to the item at column 2, row 5Digits are 1-based, starting from the left (x) and the top (y)
The first item has coordinates
11
Sometimes it’s easier to know the index of the post, rather than the coordinates.
Indices are 0-based, two digits, starting from the top left, and row-major (first row from the left to right, then second row from the left to right).
Indices less than 10 need to have a leading zero in the front (eg third image =>
02)The first item has index
00
Mode a/1

Press
hto show a preview of keysTo view a post in full, enter their coordinates.
To open a post in your default browser (using
xdg-open), presso, then enter in coordinates as aboveTo download the first image of a post in the highest resolution possible to
~/Downloads, pressd, then enter in coordinates as abovePress
i(for index), then enter in the two digits index as above.For example,
i17means “view the 18th post”.
Press
nandpto navigate between next and previous pages respectivelyYou can open a post or download an image using their indices, by using
OorDrespectively (capitalised)Press
bto go back to the main screen. You’re done! Please proceed to the mode i/2 tutorial
Artist Gallery commands: (No need to press enter)
Using coordinates, where {x} is the row and {y} is the column
    {x}{y}             -- display the image on row {x} and column {y}
    o{x}{y}            -- open pixiv image/post in browser
    d{x}{y}            -- download image in large resolution

Using image number, where {number} is the nth image in order (see examples)
    i{number}          -- display the image
    O{number}          -- open pixiv image/post in browser.
    D{number}          -- download image in large resolution.

    n                  -- view the next page
    p                  -- view the previous page
    r                  -- delete all cached images, re-download and reload view
    b                  -- go back to previous mode (either 3, 4, 5, or main screen)
    h                  -- show keybindings
    m                  -- show this manual
    q                  -- quit (with confirmation)

Examples:
    i09   --->  Display the ninth image in image view (must have leading 0)
    i10   --->  Display the tenth image in image view
    O29   --->  Open the last image's post in browser
    D00   --->  Download the first image, in large resolution

    25    --->  Display the image on column 2, row 5 (index starts at 1)
    d25   --->  Open the image on column 2, row 5 (index starts at 1) in browser
    o25   --->  Download the image on column 2, row 5 (index starts at 1)
Mode i/2

Press
nandpto navigate between next and previous images respectivelydandodownloads and opens the current imagePress
fto view the image in higher resolutionPress
rto view other images related to this postThis mode is functionally identical to mode a/1
You’re done! Press
qto exit and re-open koneko for the next tutorial
Image view commands (No need to press enter):
    b -- go back to the gallery
    n -- view next image in post (only for posts with multiple pages)
    p -- view previous image in post (only for posts with multiple pages)
    d -- download this image in full resolution
    o -- open this post in browser
    f -- show this image in full resolution
    r -- view related images

    h -- show keybindings
    m -- show this manual
    q -- quit (with confirmation)
Mode f/3 and s/4

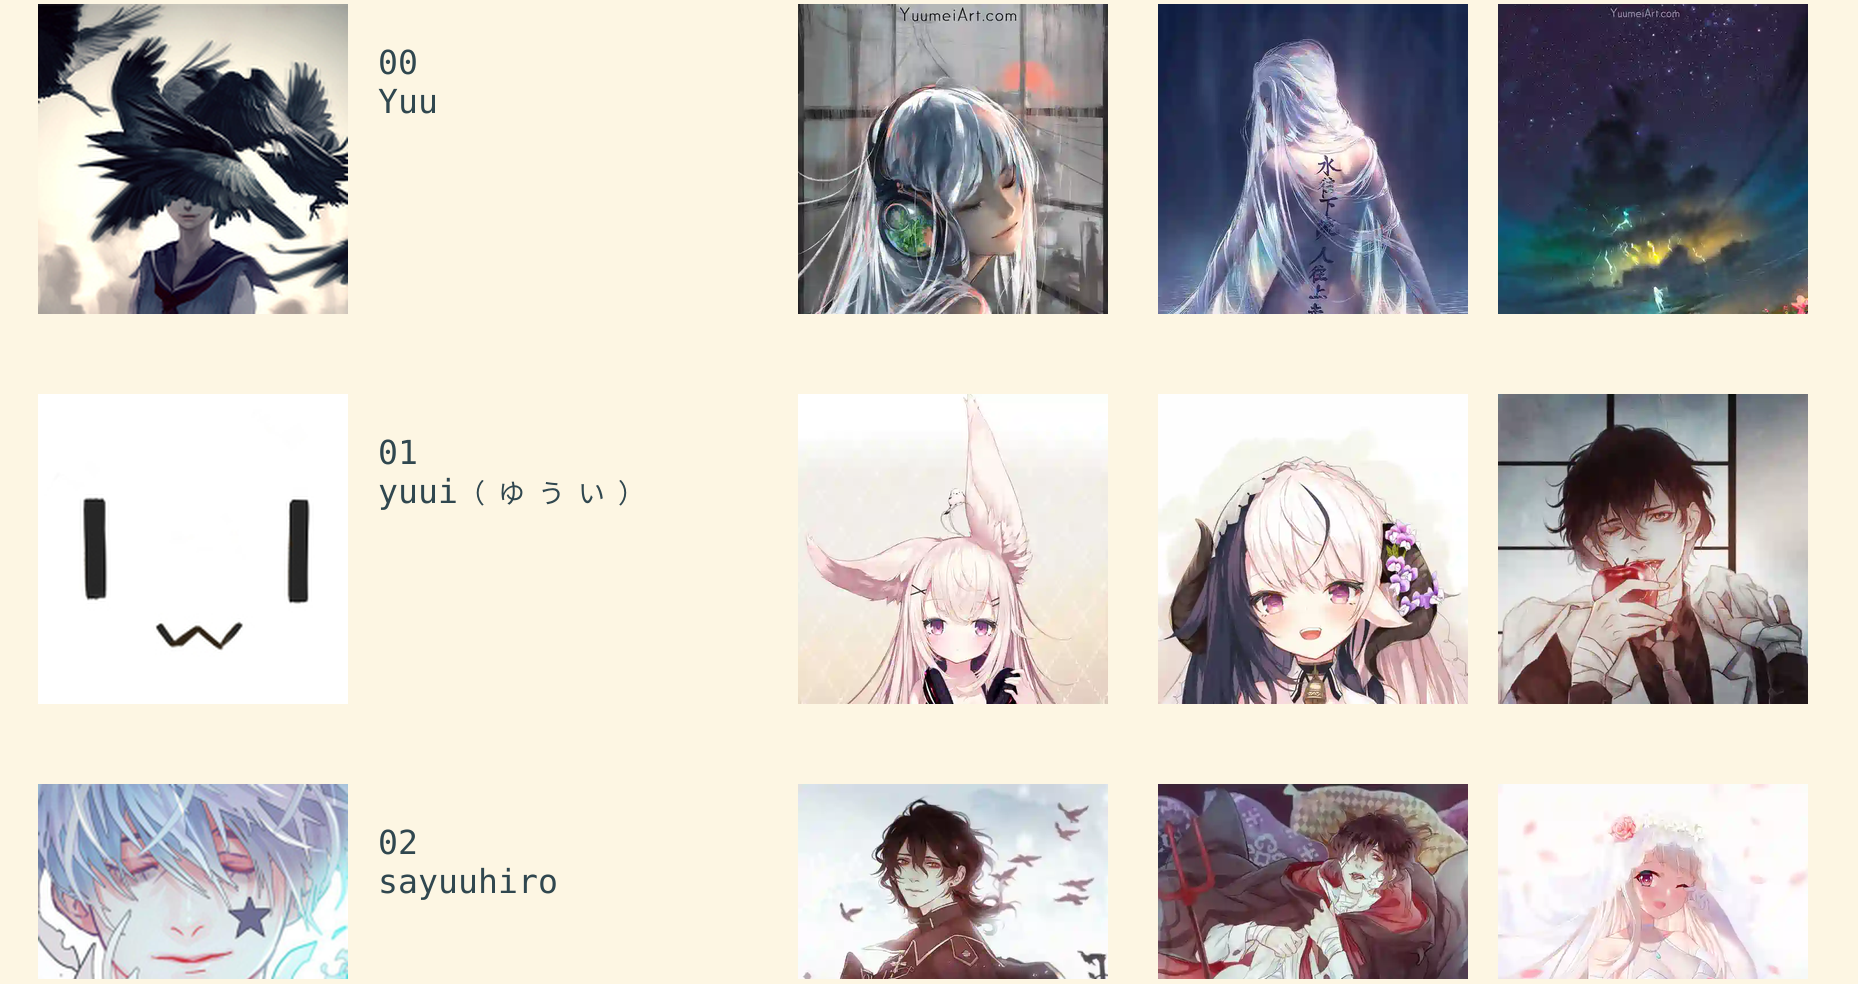
The two digit numbers on top of the user name is the index.
Enter both digits to view that user’s illustrations
The other keybindings below are self-explanatory
User view commands (No need to press enter):
    {n}                -- display illustrations of the nth user
    n                  -- view next page
    p                  -- view previous page
    r                  -- delete all cached images, re-download and reload view
    h                  -- show keybindings
    m                  -- show this manual
    q                  -- quit (with confirmation)
Mode n/5
The only difference between this and mode a/1, is the
a/Acommand. As usual, the lowercase version is for coordinates, and the uppercase one is for indicesEntering
a42means “view the illustrations by the artist of the post at column 4, row 2”Entering
A02means “view the illustrations by the artist of the third post”
Illust Follow Gallery commands: (No need to press enter)
Using coordinates, where {x} is the row and {y} is the column
    {x}{y}             -- display the image on row {x} and column {y}
    o{x}{y}            -- open pixiv image/post in browser
    d{x}{y}            -- download image in large resolution
    a{x}{y}            -- view illusts by the artist of the selected image

Using image number, where {number} is the nth image in order (see examples)
    i{number}          -- display the image
    O{number}          -- open pixiv image/post in browser.
    D{number}          -- download image in large resolution.
    A{number}          -- view illusts by the artist of the selected image

    n                  -- view the next page
    p                  -- view the previous page
    r                  -- delete all cached images, re-download and reload view
    h                  -- show keybindings
    m                  -- show this manual
    q                  -- quit (with confirmation)

Examples:
    i09   --->  Display the ninth image in image view (must have leading 0)
    i10   --->  Display the tenth image in image view
    O29   --->  Open the last image's post in browser
    D00   --->  Download the first image, in large resolution

    25    --->  Display the image on column 2, row 5 (index starts at 1)
    d25   --->  Open the image on column 2, row 5 (index starts at 1) in browser
    o25   --->  Download the image on column 2, row 5 (index starts at 1)
Mode r/6
This mode is functionally identical to mode a/1
Command line usage
As an alternative to the main screen, you can supply a pixiv url as a command line argument, bypassing the first interactive prompt. The pixiv url must be either the url of the artist’s page, or a pixiv post.
Examples
# No mode specified, can only reach modes 1, 2, and 4:
koneko https://www.pixiv.net/en/users/2232374         # Mode 1/a
koneko https://www.pixiv.net/en/artworks/78823485     # Mode 2/i
koneko "raika9"                                       # Mode 4/s

# Mode specified
koneko a 2232374    # Mode 1
koneko i 78823485   # Mode 2
koneko f            # Mode 3
koneko s "gomzi"    # Mode 4
koneko n            # Mode 5
koneko r            # Mode 6
Manual
Browse pixiv in the terminal using kitty's icat to display images (in the
terminal!)

Usage:
  koneko       [<link> | <searchstr>]
  koneko [1|a] <link_or_id>
  koneko [2|i] <link_or_id>
  koneko (3|f)
  koneko [4|s] <searchstr>
  koneko [5|n]
  koneko [6|r]
  koneko [q]
  koneko (-h | --help)
  koneko (-v | --version)

Notes:
*  It is assumed you won't need to search for an artist named '5' or 'n' from the
   command line, because it would go to mode 5.

Optional arguments (for specifying a mode):
  1 a  Mode 1 (Artist gallery)
  2 i  Mode 2 (Image view)
  3 f  Mode 3 (Following artists)
  4 s  Mode 4 (Search for artists)
  5 n  Mode 5 (Newest works from following artists ("illust follow"))
  6 r  Mode 6 (Recommended illustrations)

Required arguments if a mode is specified:
  <link>        Pixiv url, auto detect mode. Only works for modes 1, 2, and 4
  <link_or_id>  Either pixiv url or artist ID or image ID
  <searchstr>   String to search for artists

Options:
  (-h | --help)     Show this help
  (-v | --version)  Show version number
lscat app
This program can be launched with the lscat command. There are 5 modes in this app:
Configuration assistant: Interactively guides you to setting up your own config.
Browse and manage the cache, filter dirs by mode, and view the illustrations/images offline, with similar but reduced functionality
Display a path in the cache. Auto-detects which mode it is, providing that it is a valid dir.
Displays the ‘testgallery’ dir in mode 1, offline. For internal developer use.
Displays the ‘testuser’ dir in mode 3/4, offline. For internal developer use.
FYI: KONEKODIR is currently set to be
~/.local/share/koneko/cache. The parent folder also contains everything else you might want to delete if uninstallingFor developers: simply copy a “page dir” inside a pixiv ID into testgallery (eg,
cp -r ~/.local/share/koneko/cache/123/1 ~/.local/share/koneko/cache/testgallery) for mode 4 to work;…and a “page dir” inside ‘following’ (eg,
cp -r ~/.local/share/koneko/cache/following/123/1 ~/.local/share/koneko/cache/testuser) for mode 5 to work.
lscat interactive app

Usage:
  lscat
  lscat (1|c) [<actions> ...]
  lscat (2|b)
  lscat (3|p) [<path>]
  lscat (4|g)
  lscat (5|u)

Optional arguments (for specifying a mode):
  1 c  Koneko configuration assistance
  2 b  Browse a cached dir to display
  3 p  Display a specified path
  4 g  Display KONEKODIR / testgallery
  5 u  Display KONEKODIR / testuser

Possible configuration assistants:
  1  Thumbnail size
  2  x-padding
  3  y-padding
  4  Page spacing
  5  Gallery print spacing
  6  User mode print info x-position
  7  Ueberzug center images
  a  All of the above
Configuration
It is highly recommended to use the interactive configuration assistant!
After installing, type lscat 1 8 and follow the instructions. Just copy the suggested settings to your config in ~/.config/koneko/config.ini. The below text are just for documentation, so don’t worry if it is confusing – it is always better to configure it interactively.
See example config for reference.
In general
Your config must be saved as
~/.config/koneko/config.ini(exact path and name)‘Gallery’ means grid: artist illust mode (a/1), illust follow mode (n/5), illust recommended mode (r/6), and illust related mode
‘Users’ (mode) means: following users mode (3) and search users mode (4)
For booleans, (‘1’, ‘yes’, ‘true’, ‘on’) will be considered True, while (‘0’, ‘no’, ‘false’, ‘off’) will be considered False
[Credentials]
The credentials section will be automatically generated on first launch
Setting |
Type |
Default |
Description |
Notes |
|---|---|---|---|---|
|
string |
Your pixiv refresh token |
||
|
int |
Your pixiv ID number |
Optional |
[lscat]
Image configuration
Setting |
Type |
Default |
Description |
Notes |
|---|---|---|---|---|
|
int |
18 |
Width of the image, in terms of terminal blank spaces |
|
|
int |
8 |
Height of the image, in terms of terminal blank spaces |
|
|
int |
310 |
Size of the image for pixcat (I think it’s in pixels) |
|
|
int |
2 |
Horizontal spacing between images in a page |
|
|
int |
1 |
Vertical spacing between images in a page |
Print spacing
Setting |
Type |
Default |
Description |
Notes |
|---|---|---|---|---|
|
list[int] |
9,17,17,17,17 |
The number of blank spaces between each column number, if enabled by |
|
|
int |
18 |
The number of blank spaces between the left edge and the artist number and name |
|
Both of them act on the x-axis
Page spacing
Setting |
Type |
Default |
Description |
Notes |
|---|---|---|---|---|
|
int |
23 |
The number of |
|
[welcome_screen]
Setting |
Type |
Default |
Description |
Notes |
|---|---|---|---|---|
|
int |
30 |
Number of spaces to pad on the left, to shift the text in the welcome screen to the right of the welcome image |
|
|
int |
600 |
The size of the welcome image |
[misc]
Setting |
Type |
Default |
Description |
Notes |
|---|---|---|---|---|
|
bool |
on |
Whether to print the column numbers for gallery modes, and number+artist name for user modes. |
If off, |
[experimental]
Setting |
Type |
Default |
Description |
Notes |
|---|---|---|---|---|
|
bool |
off |
Whether to preview the next four images for multi-image posts, in view post mode (mode i/2) |
Unstable because of pixcat implementation details – it prints out escape codes that moves the terminal cursor, changing the location of other print statements. |
Ueberzug
(Note: these settings still belong inside the [experimental] section)
Setting |
Type |
Default |
Description |
Notes |
|---|---|---|---|---|
|
bool |
off |
||
|
bool |
on |
Whether the terminal should scroll to display all images |
|
|
int |
20 |
The x-coordinate of an image that is in the center of your terminal |